
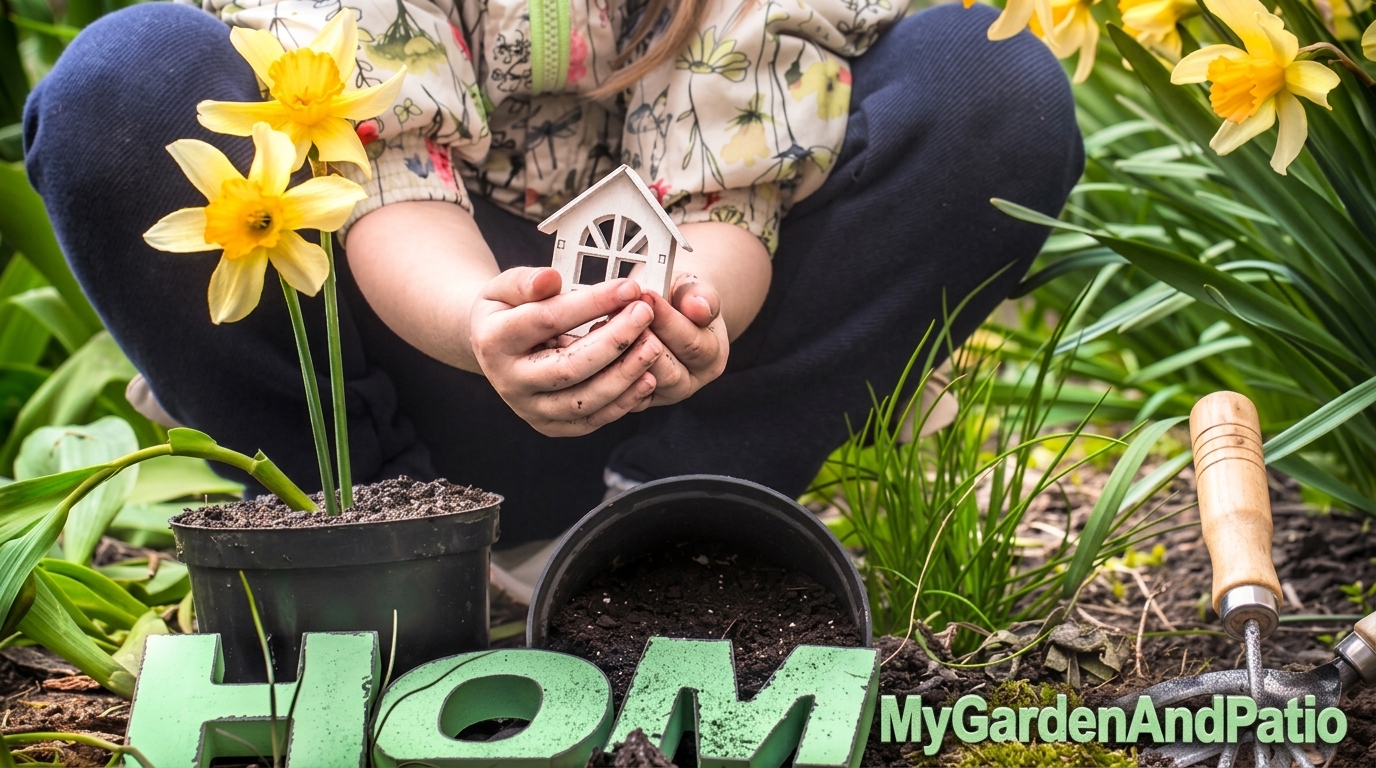
A great garden and patio starts with how you’ll use the space, not with buying furniture. Plan in five steps — decide the use, divide the zones, build the structures, plant for year-round interest, and finish with lighting and decor. Work through them in order, one phase at a time, and even a small backyard becomes a place your family actually uses.
Quick Reference Table
This table previews the whole plan. Use it as a guide to understand your current position and the next step ahead.
|
Step |
What You Do | Key Decisions | Timeframe |
Cost Range |
|
1. Use |
Define the primary purpose | Dining, relaxing, entertaining, gardening | 1–2 days |
Free |
|
2. Zone |
Map 3–4 functional areas | Layout, pathways, flexibility | About 1 week | Free to low |
| 3. Build | Flooring, structures, privacy | Materials, gazebo, pergola, greenhouse | 2–8 weeks |
Medium to high |
|
4. Plant |
Containers, raised beds, palette | Plants, hardiness zone, upkeep | Ongoing | Low to medium |
| 5. Finish | Lighting, furniture, decor | Layers, materials, style | 1–2 weeks |
Low to medium |
Step 1 — Determine How You Plan to Use the Space
The most common patio mistake is buying furniture before deciding what the space is for. A dining set, a lounge area, and a play zone need completely different layouts, so the use has to come first.
Ask one question: what will happen here most often? Cookouts with friends, quiet morning coffee, kids’ play, vegetable growing, or a hot tub retreat — pick the primary purpose, then treat everything else as secondary.
Write it as a one-line mission statement. “This is our outdoor dining room” or “This is our low-maintenance evening retreat.” That single sentence makes every later decision easier, from flooring to plants to lighting.
Takeaway: Define the use before you measure, shop, or sketch. It saves you from buying the wrong things and redoing the layout later.
Step 2 — Divide Your Garden into Zones
Once you know the purpose, split the yard into functional zones. Most backyards only need three or four: a dining area, a lounging area, a planting area, and maybe a utility or play corner.
Draw a simple map on paper — no design skills needed. Sketch the house, the door, the sunny spots, and the shade, then place each zone where it fits naturally. Put the dining zone closest to the kitchen door, the lounge zone where the evening sun is best, and the planting zone where water is easy to reach.
Connect the zones with garden pathways. A simple gravel or stepping-stone path guides movement and keeps the space from feeling like a random collection of furniture. In a small yard, make zones flexible — a bench that doubles as storage, or a table that folds away — so one area can serve two purposes.
Takeaway: Three or four clear zones connected by a path beats one cluttered open space every time.
Step 3 — Build the Bones: Flooring, Structures, and Privacy
This is the step that turns a patch of grass into an outdoor room. It’s also where most of the budget goes, so it pays to compare options before committing.
Patio Flooring Options Compared
The floor sets the tone for everything above it. Here’s how the main choices stack up.
|
Flooring |
Pros | Cons |
Best For |
|
Concrete |
Durable, affordable, easy to clean | Plain look, can crack in freeze-thaw |
Budget patios, large areas |
|
Pavers |
Classic look, easy to repair, many styles | Higher cost, weeds in joints | Homeowners who want style + durability |
| Gravel | Cheapest option, great drainage, DIY-friendly | Shifts underfoot, needs edging |
Casual seating areas, pathways |
|
Decking |
Warm natural look, comfortable underfoot | Needs sealing, higher upkeep | Raised patios, wood lovers |
| Porcelain tile | Sleek modern look, weather-resistant | Slippery when wet, pricier install |
Modern and small patios |
Structures That Earn Their Space
A well-chosen structure adds shade, shelter, or function that furniture alone can’t. The four most popular options serve very different purposes.
|
Structure |
What It Adds | Space Needed |
Best For |
|
Pergola |
Partial shade, defines a zone, supports vines | Medium | Dining and lounge areas |
| Gazebo | Full shade and rain cover, year-round use | Large |
All-weather entertaining |
|
Greenhouse |
Growing space, season extension | Small to medium | Gardeners, seed starting |
| Hot tub | Relaxation, wellness, evening use | Medium |
Year-round retreats |
A good rule of thumb: add shade first, then comfort features. A pergola or gazebo extends the hours you can use the space, and it makes a hot tub or outdoor kitchen far more enjoyable when you add it later.
Privacy Without a Full Fence
You don’t need a tall fence to feel private. Trellises with climbing plants, lattice panels, outdoor curtains, and tall container plants all screen a patio without the cost or permanence of fencing. For the least effort, line the boundary with tall grasses or a row of potted evergreens.
Takeaway: Choose flooring by climate and budget, add shade before luxury features, and solve privacy with plants before you spend on a fence.
Step 4 — Plant for Year-Round Interest
A patio that only looks good in July is a patio that gets ignored in October. The goal is a planting plan with something going on in every season.
Container Gardening Basics
Containers let you garden on any patio, even a fully paved one. Start with pots that have drainage holes, use a quality potting mix, and group pots in odd numbers for visual impact. Follow the “thriller-filler-spiller” rule: one tall centerpiece plant, a few mid-height fillers, and trailing plants that spill over the edge.
A Low-Maintenance Plant Palette
If you want color without constant upkeep, lean on hardy, drought-tolerant choices. A reliable starter palette includes lavender, ornamental grasses, daylilies, sedum, and boxwood — all forgiving plants that handle heat and neglect better than fussy annuals. Check your hardiness zone before buying, because what thrives in one region may struggle in another.
Seasonal Interest at a Glance
|
Season |
What to Add |
Why It Works |
|
Spring |
Bulbs, early perennials, fresh containers | Color returns fast after winter |
| Summer | Heat-loving annuals, herbs, edible containers |
Maximum color and harvest |
|
Fall |
Ornamental grasses, mums, evergreen accents | Warm tones extend the season |
| Winter | Evergreens, berries, structural branches |
The patio stays alive, not bare |
Takeaway: Build the planting around a few reliable perennials and evergreens, then rotate containers by season for color without constant replanting.
Step 5 — Finish with Lighting, Furniture, and Decor
The finish layer is what makes a patio feel like a place people want to stay in after dark. It’s also the cheapest step to get right.
Lighting in Three Layers
Good outdoor lighting works in three layers, just like indoor lighting:
- Ambient: string lights, lanterns, or a pendant over the table for overall glow.
- Task: a path light or spot near cooking and seating areas where you need to see.
- Accent: uplights on trees or plants to add depth and drama.
Warm-toned bulbs make the space feel cozier than cool white ones, and they’re more flattering on skin tones and food.
Choosing Weather-Resistant Furniture
Furniture materials matter more than style when it lives outdoors year-round.
|
Material |
Durability | Upkeep |
Best For |
|
Teak |
Excellent, ages to silver gray | Minimal, occasional oiling | Long-term investment pieces |
| Aluminum | Very good, lightweight | Very low |
Coastal and windy areas |
|
Wicker/resin |
Good, holds up to sun | Low, cushions need care | Cozy lounge looks |
| Steel | Good, heavy and stable | Needs rust protection |
Modern, stationary setups |
Add outdoor rugs, cushions, and a few decor pieces in warm earthy tones to finish the look. This is also where the current natural, layered style comes in — mixed textures, soft neutrals, and plants woven through the seating.
Takeaway: Light in three layers, match furniture material to your climate, and finish with texture-rich decor that makes the space feel lived-in.
Common Mistakes to Avoid in Garden and Patio Design
Most failed patios fail for the same few reasons. Here’s what to watch for and what to do instead.
|
Common Mistake |
Why It Backfires |
Do This Instead |
|
Buying furniture before planning |
Wrong sizes, wrong zones, wasted money |
Define the use and layout first |
|
Ignoring drainage |
Puddles, soggy plants, damaged flooring | Grade the area and add gravel or drains |
| Planting for one season only | The space looks dead for months |
Choose a season-by-season palette |
|
Overcrowding a small patio |
Feels cramped and hard to move through | Keep 3–4 zones and flexible furniture |
| Skipping the lighting layer | The patio dies at sunset |
Add ambient, task, and accent lights |
Frequently Asked Questions
How do I design a small garden and patio?
Start with one clear purpose, keep it to three zones, and choose flexible furniture that folds or stacks. Small areas feel more functional when every item has a clear purpose.
What is the cheapest patio flooring option?
Gravel is the most budget-friendly flooring and one of the easiest to install yourself. It drains well and works for casual seating areas and pathways.
Should I build a pergola or a gazebo?
Choose a pergola for partial shade and a defined dining or lounge zone. Choose a gazebo if you want full rain cover and year-round use.
What patio plants are low-maintenance?
Lavender, ornamental grasses, daylilies, sedum, and boxwood are all forgiving, drought-tolerant choices. Check your hardiness zone before buying.
How do I add privacy to my patio without a fence?
Use trellises with climbing plants, lattice panels, outdoor curtains, or tall container plants. They screen the space without the cost of fencing.
How much does a basic patio makeover cost?
It depends entirely on flooring and structures. A gravel-and-container refresh is low-cost, while pavers or a gazebo push the budget up significantly.
What should I do first when planning a backyard patio?
Decide how you’ll use the space before anything else. Write a one-line mission statement, then zone the yard, build, plant, and finish in that order.
The Bottom Line
You don’t need a big budget or a designer to create a garden and patio you’ll actually use. Define the purpose, zone the space, build the bones, plant for every season, and finish with light and texture — one phase at a time. Start with the use, and every other decision gets easier.
Ready to start? Pick your mission statement today, sketch your three zones this weekend, and build the patio around how your family really lives outdoors.
Click here for more details.